DIY Old to New Headboard

This weekend we embarked on one of our most exciting projects to date and this one did not disappoint. We have been slowly redoing our bedroom, look out for a post of the finished project later this week. Our last major step was our headboard. We have replaced all of the other furniture in the room or added new furniture where needed. Our headboard was the only piece that we felt was worth saving and redoing so we didn’t have to spend a couple hundred dollars on a new one that matched our bedroom set. So one night I came up with an idea, it seemed a bit difficult but we decided it could be done. After our bench spray painting success we decided to embark on another project.

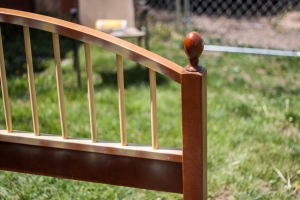
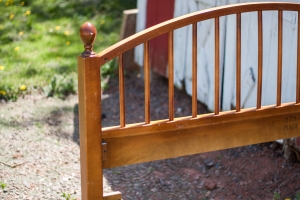
So we started with this

Headboard-1Headboard-8

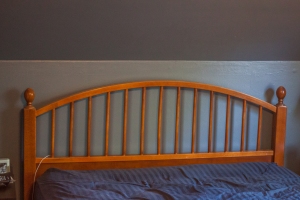
A plain, old wood headboard. The rest of our bedroom furniture is a black/brown color from Ikea so this was not going to do. Our walls are a lovely blue/gray color and our curtains have gray and yellow in them. So the idea I came up with was to spray paint the spindles a yellow color and then spray paint the rest of the headboard the black color. So we started off by spraying the spindles the yellow color.

Headboard-2

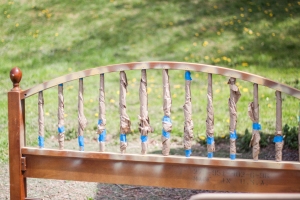
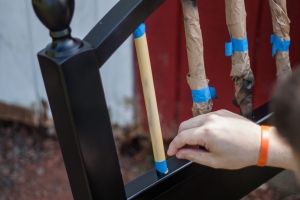
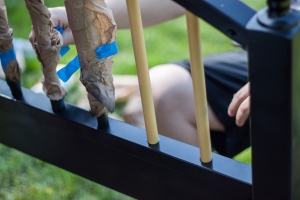
After we had them painted, Tyler taped around the tops and bottoms and then took masking paper and wrapped it around the spindles and secured it with more tape.

Headboard-3

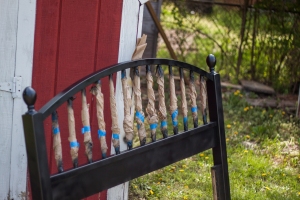
We then proceeded to spray paint the rest of the headboard in the black color.

Headboard-4

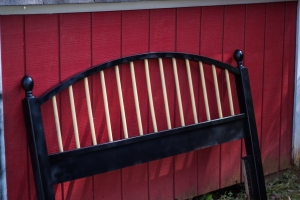
Don’t you already love the look of it? So exciting. Then we had to wait for it to dry which is always the hardest part. Once it was dry we began to carefully remove the paper and tape.

Headboard-5Headboard-6

Isn’t it looking lovely? You can see a little bit of the wood but that is the back so we weren’t too worried about that/

Headboard-7

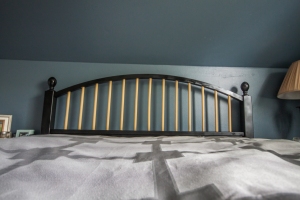
And here is the final product, isn’t it beautiful!! I am in love with this project. It has completed our bedroom and it looks so good!

Headboard-1Bedroom-3

Here they are side by side, before and after of the headboard. Don’t you love the difference? Such an easy project and it made such a big difference in the room. All we needed was 4 cans of Valspar spray paint with primer, paint tape and masking paper. A lot cheaper than buying a whole new headboard.
Wedding Thursday- DIY Centerpieces

Today I have more beautiful centerpiece ideas to share with you. These were compliments of my best friend’s wedding. Anna and Kyle had a beautiful wedding. They had an absolutely gorgeous venue and worked very hard in planning their wedding and creating lots of DIY decorations. Their wedding was proof you can have a gorgeous wedding on a small budget. The centerpieces were so cute and a great idea by Anna. They were very easy to make, all of the bridesmaids sat down and whipped them out in a couple hours.

Supplies Needed:
-Mason Jars
-Twine
-Old Books
-Candles
-Cardboard
-Chalkboard Paint
-Chalk
-Flowers (we used silk flowers)
-And the obvious, scissors, hole punch

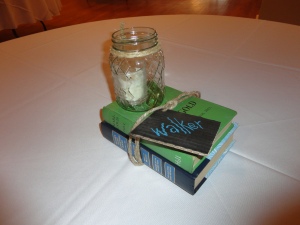
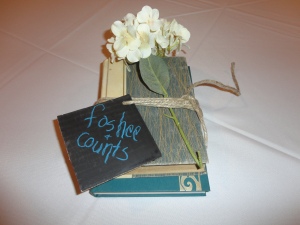
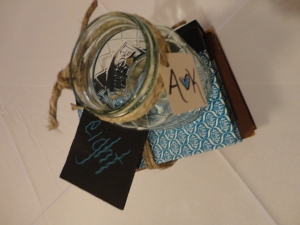
So what we did was to first stack two books on top of each other and wrapped them in twine. At the end of the twine we hole punched and added the tags for table #’s and reserved seating. The tags were made with cut out pieces of cardboard, spray the cardboard with chalkboard paint and then write on it with chalk.

DSC00519

In some of the centerpieces we used mason jars with a candle inside. We wrapped twine around the top of the mason jar and then placed the jar on top of the books and there you have it, an easy and inexpensive centerpiece.

DSC00520

Another one of the centerpieces had silk flowers stuck under the twine rather than having the mason jars. That way not every table was the same.

DSC00521

The tables that were not reserved for family were given numbers. There was no assigned seating at this wedding but numbers were needed for people to be called to the buffet table.

So now you have some easy, inexpensive and DIY centerpieces. The old books came from Anna’s mom who is a librarian and the mason jars were collected from different people who had them. That is proof that if you ask around you can find things you need and save a lot of money!

Do any of you have any inexpensive, DIY centerpieces you have done? Or will you be using this idea? Let us know if you do! It made for a truly beautiful wedding. I will be highlighting more ideas from Anna’s wedding as we continue on with Wedding Thursday, until next week!

Wedding Thursday-Centerpieces

So this week I am going to tell you about my centerpieces from my wedding! Tyler gave me some great ideas for wedding posts coming up soon but I have to dig out my wedding planning notebook for the information so stay tuned for that next week 🙂

Ok the first centerpiece is one that we used at my sisters wedding and before her wedding this was a centerpiece I had never seen before. In all my research for centerpiece ideas I don’t think I came across one like this. So what we did was we got a cylinder vase and then stacked miniature fishbowls topsy turvy in the cylinder vase. In the miniature fishbowls we put white roses. At my sisters wedding we put yellow roses. We put a little bit of water in the bottom of each fishbowl. There are so many options you could do with these. You could put food coloring for colored water, you could put live fish if you loved fish (we actually saw that at a wedding at our venue), pretty rocks, sand and shells and so much more just depending on the theme of your wedding.

IDM_5814

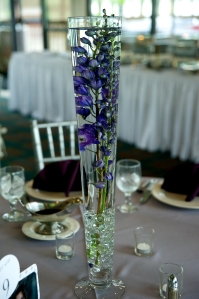
The second centerpiece that we used was a completely last minute decision. We had ordered the flowers and were doing our own flowers and a wholesale flower place where you put together all of your own flowers, more on that later. So we showed up with fishbowls to have flowers submerged in the fishbowls. Well it ended up what they got us was not going to work so fortunately they had these lovely vases available two days before my wedding to rent. We places pins in the bottoms of the flowers to anchor them down with the rocks in the bottom. We placed the flowers in then added the water on the day of the wedding. These ended up being my favorite centerpiece and they were completely last minute. One of the wedding stressors, changes in plans. Something you learn in weddings, you must be flexible!

IDM_5811

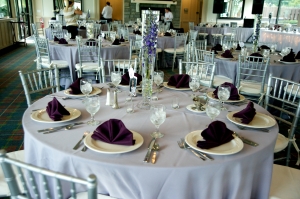
As you can see in the pictures we surrounded the centerpieces with little votive candles because who doesn’t like candles right? My other centerpiece involved a lot of candles. I don’t have a picture of it it seems but it was pretty straight forward. If you can see my tablecloths are lavender, they were supposed to be gray. Another unexpected change from a mistake that we unfortunately had to deal with. It looked great still but my colors were dark purple and gray. Flexibility. And really on the day of your wedding you don’t even notice everything it’s all a blur. It was a wonderful day!

IDM_5810

Pictures were taken by Jessica at Images by Daniel Michael

Easter Weekend Wrap-Up

We had a great Easter weekend! We had beautiful weather and were very productive. Friday I was off work and created my new spring wreath! We had Spinach and Ricotta Shells for dinner which I have shared with you all before. They were delicious as always. You can’t go wrong with stuffed shells. We caught up on some of our DVR shows Friday night and just relaxed.

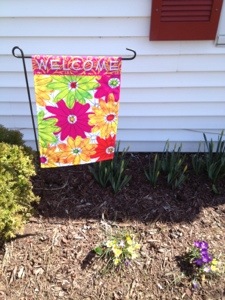
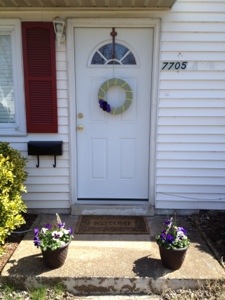
Saturday, we had breakfast at Bob Evans and then headed to Lowe’s We bought everything we needed to finish fencing in our yard! You can read all about that on Tyler’s blogging post, his first contribution to the blog. And he is a good writer and funny so I will be having him do more posting. While Tyler worked on the fence I weeded my flowers and put up my new potted flowers and garden flag. I was quite excited about those and now our yard looks so cute and ready for spring!

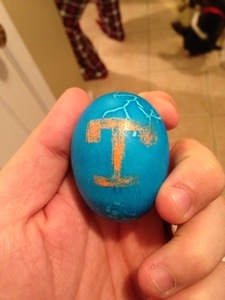
After our yard work we got ready and headed over to the Twaddell’s for Easter egg dying, dinner, an inspirational egg hunt, cheesecake and Nertz. If you have never heard of Nertz or experienced the Twaddell’s playing it then you won’t understand my excitement about coming in 3rd place!! It is a game of speed and that is something the Twaddell family excels at, the Ballards and Glovers not as much. So I was proud to come in 3rd out of 7 people playing!

On Sunday we dressed up and headed to church for Easter Sunday. Growing up in a Southern Baptist church I just felt the need to dress up for Easter. When I was a little girl it was always so exciting to get our Easter dresses! It was a dreary and rainy day on Sunday so we came home and spent the day lounging on the couch and I also prepared us a delicious meal, Chicken Casserole and Pineapple Casserole, recipes coming later this week!

We had a great weekend and this morning it was back to the grind. I am not the biggest fan of Monday’s but I mean who really is? But this work day is close to over and then we are one day closer to the weekend 🙂 This coming weekend if the weather is nice we are hoping to go into DC and check out the Cherry Blossoms! Quick find the Zyrtec, hello allergies!

Hope everyone had a wonderful weekend!

Dolly says “Happy Easter” 

20130401-181040.jpg

New garden flag!

20130401-181051.jpg

Front porch!

20130401-181058.jpg

The Easter Bunny came!

20130401-181117.jpg

20130401-181112.jpg

20130401-181123.jpg

Dying Easter Eggs at the Twaddell’s!

20130401-181134.jpg

20130401-181139.jpg

20130401-181145.jpg

Fencing in the newest member of the Glovers- By Tyler

Today we have a special treat! Tyler (my husband) has written a post about fencing in the yard this weekend 🙂 Enjoy!

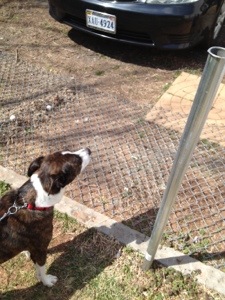
If there is one thing that became obvious while playing with Dolly in the back yard is that the pup can run! Not that we were surprised that a greyhound / pointer could get around pretty well, but the energy level is rather intense. Emily and I had discussed fencing in the remaining 20’ or so of yard at the top of the driveway when we got Dolly, but that kind of got put on the back burner when Spring decided to have an identity crisis and snow in late March.

This past weekend was the first day above 60 since sometime in December, so we were roaring to go with the fence project. I built up some good will to get Emily to help me by making her some felt flowers for her wreath the night before. The next day I used that as leverage to get into Lowe’s for a spending splurge (Not that I ever need leverage to get Emily into Lowe’s, right babe?).

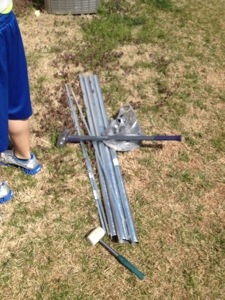
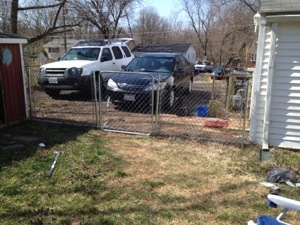
I ended up talking to an employee at Lowes for 4-5 minutes and had all the pieces and parts I needed for the fence project. We got 6 posts, 4 tension rods, 12 tension rod clamps, 1 Gate, 1 Gate hinge assembly, 1 gate latch assembly, 40 bolts / washers, a sledge hammer, 2 potted plants, and a kneeling pad. Now some of you expert fencers are laughing now, who gets 6 posts and only 4 tension rods??? Come on Tyler! Yeah, my bad. Also, forgot to get a longer bolt for the gate hinge, but in my defense, it wasn’t labeled on the color coded assembly chart. So 1 strike against me, and 1 against Lowes.

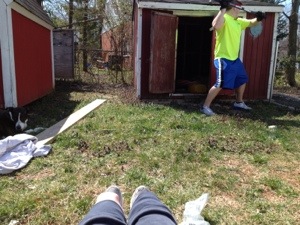
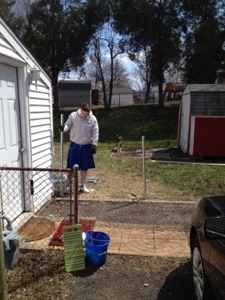
I got home and found the rubber mallet I had laying around, which I planned to use to get the posts started. I don’t care who you are, slinging a 8 pound sledge hammer above shoulder level and trying to have any efficiency is a losing battle. We got Dolly hooked to the shed somehow with Emily’s ingenuity. She loved just sun bathing and smelling each new piece and part I got out of the bag. Meanwhile, Emily has taken her new gardening gloves and kneeling pad around the front and begun weeding the flowers we planted a while back! She got all the weeds out and arranged her new potted flowers on the front porch to her liking, and came around back to help me out! In between straightening posts, or assisting in applying the clamps, she rested with Dolly and they enjoyed the 60+ Degrees! Woo!

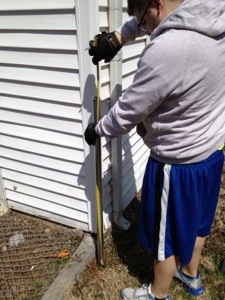
Cutting the fence was something I hadn’t really planned for too well. However, my mediocre limb choppers eventually got the fence cut ha-ha. It was quite a scene. The movies make that look so easy! Once we finally got all the posts set and fence tied off and clamped together, we are only missing 3 pieces to be done! We need to get those last 2 tension rods, and a bolt for the hinge. All in all it was a great Saturday of fencing, and now we can let Dolly run as much as she wants back there chasing squirrels and cats (her new hobby); and not worry about her taking off across the street to meet the neighbor dogs, like she did a few days ago.. Bad dog.

-Mr. Glover

20130401-103110.jpg

20130401-103120.jpg

20130401-103127.jpg

20130401-103134.jpg

20130401-103143.jpg

20130401-103155.jpg

20130401-103203.jpg

Spring Yarn Wreath

I was off of work on Friday so I decided to make a new wreath because I didn’t have one for spring yet. I searched through Pintrest and had a couple of ideas. I headed to Joann’s with coupons in hand and settled on trying out a yarn wreath with felt flowers. I bought everything I needed for 11 dollars. Thank you coupons! I love Joann’s because they let you use multiple coupons at once.

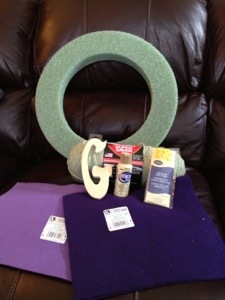
Here are the supplies I assembled, a foam wreath, yarn, felt in different colors, yellow rick rack and then I also had a wood “G” which I ended up not using. So I will save that for another project.

20130331-151250.jpg

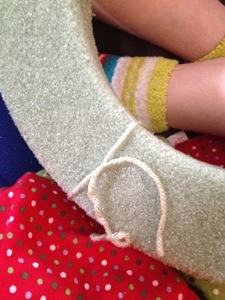
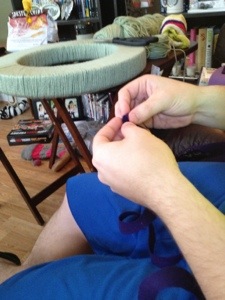
So I started off by wrapping the yarn around the wreath and tying a knot in the back. I then proceeded to wrap the yarn tightly around the wreath. Now this for me took a long time. It might be the type of wreath I chose or because I’m a little OCD sometimes. Either way it took me awhile but I turned to my DVR and settled in for some work. Tyler was kind enough to come home and do the last bit for me.

20130331-151328.jpg

20130331-151340.jpg

After finishing the yarn all the way around the wreath I then proceeded to make felt flowers. I searched a lot online to find a good tutorial on how to do it then I had Tyler read it and he helped me with these. What a good husband right?

20130331-151408.jpg

So to begin you cut a wavy circle from the felt. For my larger dark purple flowers I did one big circle from each piece. So you take that wavy circle and begin cutting it in a circular motion and keep cutting until you get to the end. At the end you will have a small circle which you should keep intact.

20130331-151430.jpg

Your next step is to start at the smaller end without the circle and start rolling it up tightly. I tried to keep the wavy end lined up with each other as I continued to circle around. That way once I was done it had a little flowery look to it. It’s hard to explain, it’s a little bit of trial and error. Just wrap it tightly and once you get to the end you will place the circle on the back of the flower.

20130331-151447.jpg

Once I got the circle to the back of the flower I hot glued it down then proceeded to add hot glue wherever I felt like it was needed on the outside of the flower. Then viola, felt flower! They were a lot easier than I had anticipated. Mine don’t look perfect by any means but I thought they turned out pretty good for my first go at it!

20130331-151456.jpg

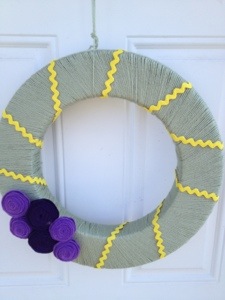
For the smaller light purple flowers I did two circles per piece of felt. I then took some yellow rick rack and wrapped it around the wreath and hot glued it on in the back.

20130331-151504.jpg

So after that I hot glued the flowers to the wreath in the lay out that I wanted. I then used some yarn to hang it up. Hanging the wreaths is always where I struggle so let me know if you have any great ideas for that?

I was very excited about how this turned out! I love it and it is very springy but can also be used in other seasons too!

Source: How to Make a Yarn Wreath for All Seasons

Wedding Thursday-Maggie and Josh

So I apologize to going back to my old ways of not blogging faithfully but I was on vacation with my family! So I have lots of fun stuff to blog about! I am back from vacation and it is Wedding Thursday and I just attended a wedding this past weekend so how perfect!

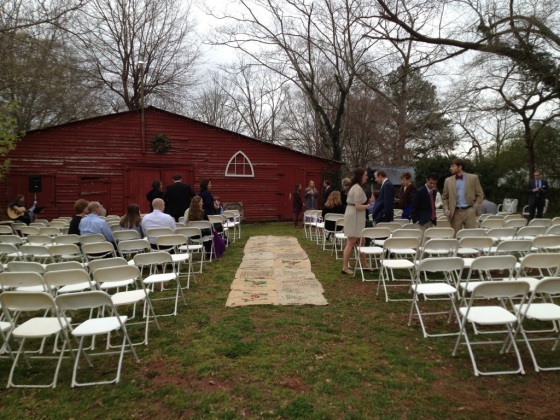
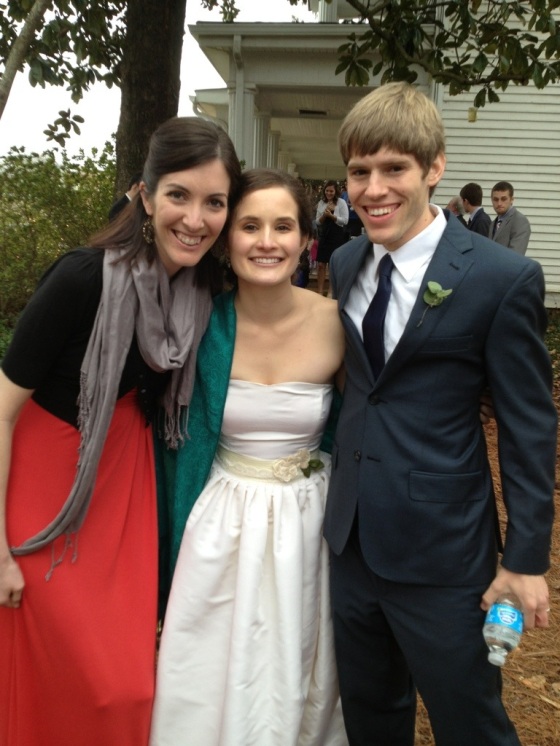
My dear friend Maggie got married to her one, Josh, this past weekend. The day started out with pouring rain, loud thunder and lightning. And this was to be an outdoor wedding. But the wedding plans moved forward and by 1 pm the rain and storms had stopped and by 5 pm all was well for an outdoor wedding! From what I hear Maggie handled it with grace, I would have been freaking out had it been pouring rain on my wedding day.

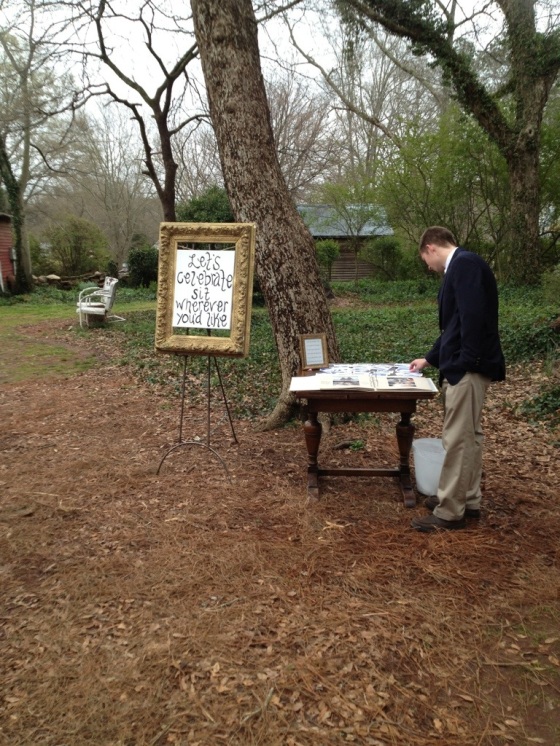
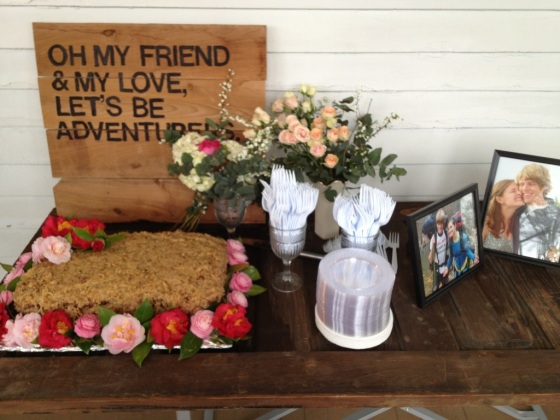
It was a beautiful garden wedding held at a bed and breakfast, complete with corn hole, smores and bbq. It was wonderful! One idea that she had that was similar to my guestbook scrapbook was her guestbook that had a sign by it to find your picture and sign beside it. So I flipped through the book and found a picture of Maggie and myself and signed beside it. Such a cute idea and I am sure so much work!

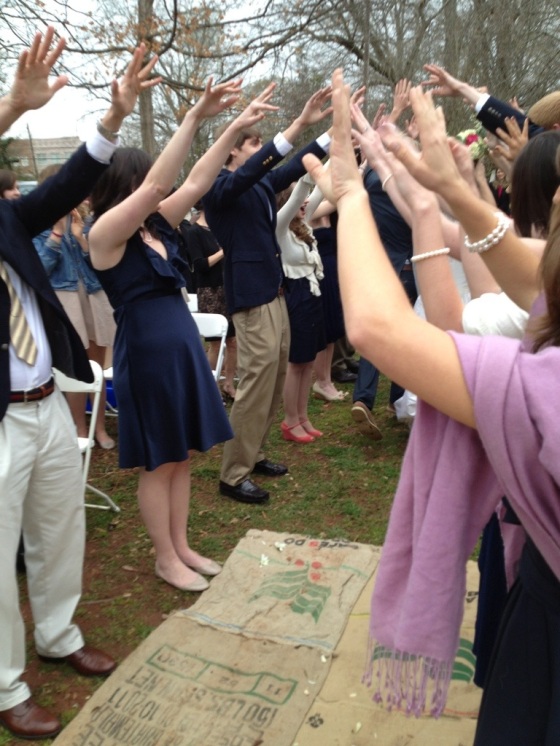
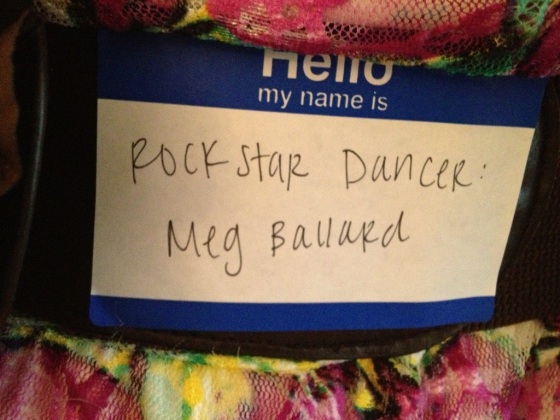
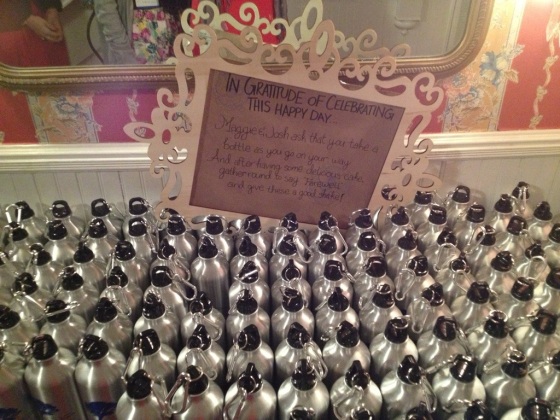
Maggie had prepared name tags for everyone with your name and a little title. Meg was thrilled to be “Rockstar Dancer” Meg Ballard. I was excited to be titled “Had the most fun wedding ever” Emily Glover. Every little detail was so cute. From the burlap aisle, to her beautiful dress, to the wedding party tunnel the bride and groom exited through. We had a delicious bbq dinner and german chocolate cake prepared by the grooms mother. And the favors were water bottles filled with beans to shake when they made their exit.
It was a beautiful wedding and we had a wonderful time! It is fun to be able to feature a wedding I just attended on Wedding Thursday. My next wedding to attend isn’t until July so I will just have to continue to pull ideas from my wedding, my sisters and my best friends.

20130329-123553.jpg

20130329-123603.jpg

20130329-123625.jpg

20130329-123636.jpg

20130329-123649.jpg

20130329-123658.jpg

20130329-123711.jpg

Wedding Thursday- Seating Chart

So one of the things I chose to do at my wedding was to have a seating chart. We had a sit down dinner and no excess seating so we thought a seating chart would be a good idea. So then the creative cap had to come on. What was a cute way to do the seating chart? I wanted it to look pretty and fit in with the decor. One weekend in October we visited our wedding venue  to show it to my in-laws and my husband. That’s right, my husband let me pick the wedding venue without ever having seen it in person. I think the words “golf course wedding” helped him agree! He’s a keeper for sure!
IDM_5807

P.S. you can click on the photos to make them bigger to get a better view!

So as we were visiting the venue a couple was about to be married there and I drew inspiration from their seating chart! The idea was to buy a beautiful frame (harder done than you would think) and to have some fabric with the chart pinned on.

We ran with that. We were unable to find a really pretty frame as big as we wanted so we ended up with a nice plain black one. We took a thin foam board and covered it in dark purple fabric and then placed it inside the frame without the glass.

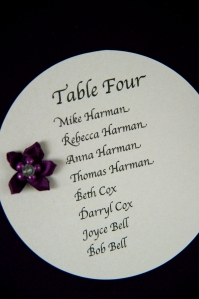
We printed the seating arrangements off the computer and cut them into circles for each table. We took them and stuck them to the fabric (with what I cannot remember) I’m going to say scrapbook tape? But it can be done many ways. Another way I had seen it done with having each one stuck on with pearl push pins but I couldn’t find any.

After sticking them on we added these cute jeweled flowers to each one for a pretty little touch and at the top of the seating chart we put a big rectangle for the head table.

IDM_5809

Most of the credit for this being done must be given to my mom. I think I remember it was a last minute thing and I was already getting beyond stressed and my mom did wonders with my idea!

So this was our idea for the seating chart. I thought it turned out really cute. We had a pretty big frame and then stood it up on an easel that the venue provided.

I am quite excited to get to go to a wedding this weekend. My sweet friend Maggie is getting married and I am so excited for her! And today is my dear friend Amanda’s birthday so a shout out to both of those wonderful friends who I have known since high school! I can’t wait to see them both this weekend and celebrate Maggie and Josh!

AMG_0781 (2)


Pictures by Jessica at Images by Daniel Michael

Happy 1st Day of Spring!

It’s spring y’all! I am excited to say the least. Even though that doesn’t mean an automatic weather change seeing that the high here tomorrow is 39. Fortunately I am flying south on Friday for 5 glorious days of vacation! My husband is kind enough to allow me to go off and vacation while he holds down the fort at home.

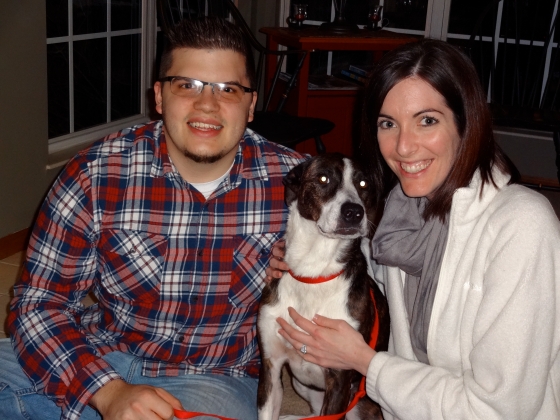
So I just realized I have pictures on my camera from a few weeks ago when we went to Ohio for my mom’s birthday. She took a great family picture for us with Dolly. Dolly’s eyes come off a little crazy in the picture but it is a good picture so I had to share!

Family Picture


So this is a short post. Tune in tomorrow for Wedding Thursday for another fun idea from our wedding!

Spring Centerpiece!

It’s the last day of winter! Hard to believe because it snowed here yesterday and my friend in Boston woke up to 6 inches of snow this morning. But I’m sure the warm weather is just around the corner. Patience is key! So in excitement about spring coming I did a small amount of spring decorating over the weekend. By small I mean I created a spring/easter centerpiece. Since Easter is so early this year it will continue throughout the spring as the table centerpiece. You can see the remnants of Valentine’s decorating still up so the spring stuff needed to replace it!

I kind of just meandered through the aisles of Michaels and dreamed up this centerpiece. After doing my fall centerpiece which was a take on some ideas I’d seen on Pintrest I just decided to go to the store and find things!

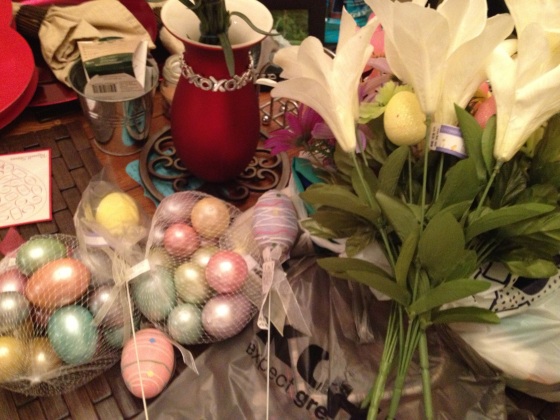
I was excited to find these pastel plastic easter eggs that looked pretty and not tacky. So I got two bags of them and used them to fill up the vase I got for a wedding gift. I then purchased some fake flowers that matched with the eggs. And a couple of stems of flowers with easter things interspersed throughout. And a couple of pretty stems with just a pretty easter egg on the end.

So it was very simple and then viola we have a touch of spring/easter in our kitchen! That’s really all the spring decorating I have done. I think I like decorating for fall and Christmas the best but I am really excited about the warm weather that is coming.

On another exciting note my flowers are beginning to bloom! I think we shared with you all in October when we planted flower bulbs and they are beginning to bloom! I will post pictures soon!

Happy Last Day of Winter!!!

My supplies!

20130319-135305.jpg

And the finished product! 

20130319-135323.jpg